Follow this blog with bloglovin

Follow on Bloglovin Follow Me on Pinterest
Showing posts with label DIY. Show all posts

2/09/2014

DIY: Make Your Own Designer Pillows

Want to bring stylish pillow fight material to your home? Or just feel like being creative on a weekday evening? I can proudly present my new pillows which weren't only easy peasy to make, but also look stylish and were fun to make. 

What do you need?
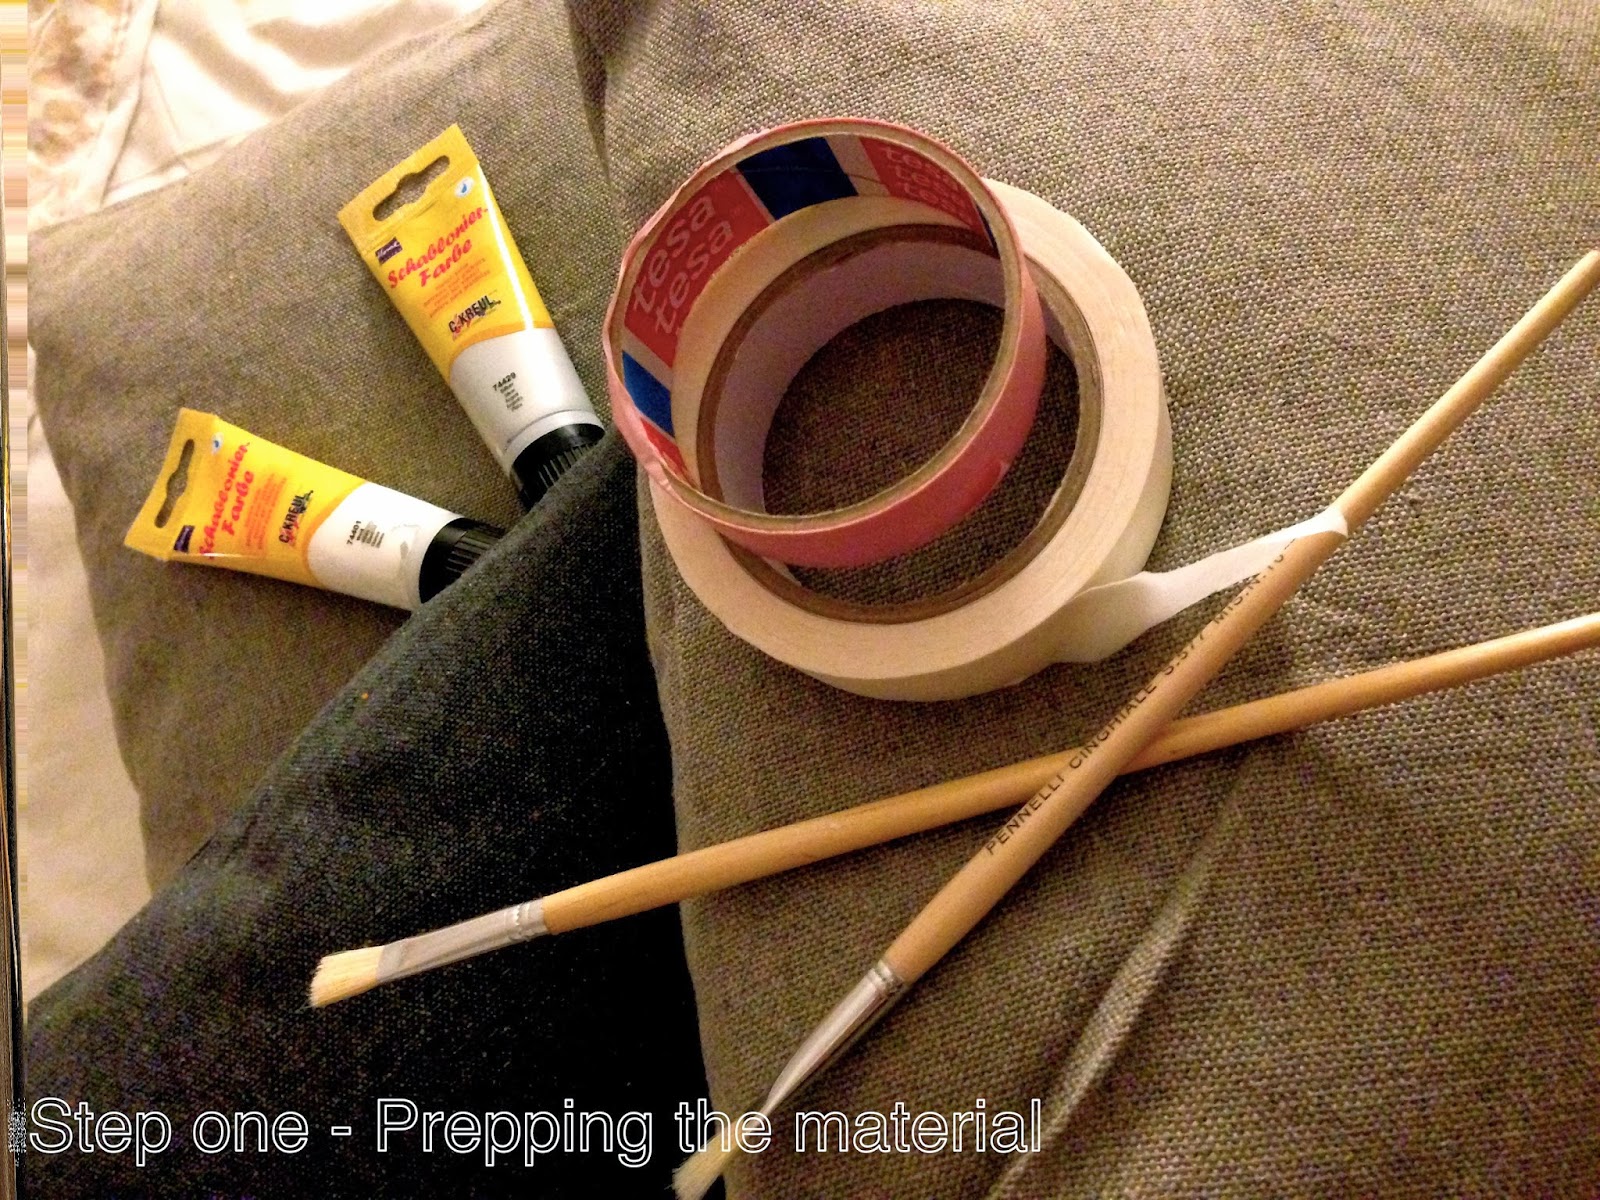
Plain pillow cases (whatever color you like), tape, Washing resistent paint, scissors, ruler, paintbrushes and a fun graphic you want to paint on your pillow. It only takes about 30 minutes to create one pillow (time varies on how fancy your pattern is)
Dedice on your pattern and try to tape it on your pillow. The stops not covered with the tape will later be filled with paint. A ruler for symmetry helped me a lot in this stage, especially when you are trying to make a more complicated pattern like the one shown. 

When your pattern is complete, double check if this is really what you want to have on your pillow. Slight imperfections may be desired, but if you are completely unhappy with your choice simply get rid of the tape and give it another shot. 

Now the fun part starts! Get the paint out and carefully fill the boxes of cloth that you want to paint!

Once you are done, either let it dry and remove the tape when dry or rip it off right away. Repeat as often as desired :) I really like having a personalized item at home, especially when they are as stylish as those! Pillow fight anyone? 


12/27/2013

DIY Photo Booth Fun!

Sometimes it is so easy to have fun! Buy some colorful paper, draw your favorite beards, glasses, ties on that paper - cut it out and glue it on a stick! 

Ready is the photo booth art to turn your new years eve into a memorable event! 
Can't wait to get real silly with these with my friends!
xx Taty*

12/23/2013

DIY: Pretty Nails For The Holidays

Need a fancy highlight to add a little spark to your holiday outfit? Thanks to Tesa stripes I was able to give my hands the perfect christmas look (which I will probably start turning into my new years or all year round fancy "nail do"). Its pretty much as easy as it sounds. Clean your nails and get rid of any nail polish residue. The nail polish remover will actually take away the oiliness of your nails as well. Then apply layer one on the whole nail. Let it dry. (Potentially add a second layer of your first color of choice) Then add the Tesa (or scotch) tape/stripes and kind of massage the ends of the stripes until you can't see any bubbles under the tape. Then add the second nail polish of choice. (eventually repeat again) and tadaa* christmas look, here we go! If you have time on your hands apply a top coat to make this look last all christmas long! After completing your personal manicure I like to use the Ultimate Strength Hand Salve from Kiehls, then your hands are even ready for a snow fight :) 

If you want to use your time between the different layers wisely go ahead and grab a nice book! I can't wait to start reading this one!!! "Journey Man - 1 man, 5 continents and a lot of jobs" By Fabian Sixtus Körner. I am pretty sure that it wasn't a wise decision to buy this book at it will only fuel my desire to plan my next big travel! 

12/03/2013

Creativity at home - DIY closet (with the help of super dog Lotti and mom's boyfriend)

About one month ago I finally moved into my new home. As I am always open for creative ideas and interior design I was dying to try a little different way of storing my clothes. It was important to me that I would be able to see most of my clothes right when I get up (as colorful clothes are probably the nicest piece of decoration to have around) and to be able to keep everything very neat and organized. Secondly, I wanted to have a closet that makes my room like home and kept it open, so the room that is my office, bedroom and living-room doesn't feel restricting or small (and I think that a huge closed closet could have made it feel that way). SOOOO, long story told, I stumbled across a closet on a budget in a magazine. Challenge number one was to find an old wooden latter that would fit in the corner I had available (and within Düsseldorf). Fortunately there are always friendly people around to sell you something and to even carry it inside your house. 

:) 

Lotti was helping a lot of course :) (by carrying around the wooden sticks! = not helpful at all. But far too cute to be mad!) 

All you need is wooden bars (to build the triangle that will hold the latter), one wooden (old/historic) latter, saw, tools, drill, screwdriver, one real good friend/boyfriend/dad/uncle… (eventually some paint) I opted against painting my latter for now. It would have been to sad to paint over the old numbers and bits & pieces of old paint. I rather have the latter tell a story. 

Curious to see the final result at my place? Well,… I will share that with you after I finished up arranging my clothes etc. (neat freak at work) 

If you are interested to make this DIY closet (which I think is also a great way to make a wardrobe, storage in the garage etc. etc.) and the pictures aren't giving you enough information, feel free to contact me via the comment function or email TStrahlendberg@gmail.com

Tschüss, Taty°